The braking system is one of the most crucial components of any vehicle. If it's not functioning properly, bleeding your brakes might help. You can either take your car to a garage or do it yourself. In this article, we'll show you how to bleed your brakes and what tools you'll need.

The braking system is one of the most crucial components of any vehicle. If it’s not functioning properly, bleeding your brakes might help. You can either take your car to a garage or do it yourself. In this article, we’ll show you how to bleed your brakes and what tools you’ll need.
- How does air get into the braking system, and how do I recognise a problem with it?
- Bleeding brakes yourself: How does it work?
- What equipment do I need?
- Bleeding brakes without ABS: Method 1
- Bleeding brakes without ABS: Method 2
- Bleeding ABS brakes
- How much does professional brake bleeding cost?
- Bleeding brakes: A task worth doing!
How does air get into the braking system, and how do I recognise a problem with it?
The first step is to identify the cause of your car’s reduced braking efficiency. Doing so will help you prevent the issue in the future. Air bubbles can form in the brake lines if the brake fluid hasn’t been changed for a long time and has overheated due to heavy braking. High temperatures create steam bubbles that reduce braking effectiveness.
Another cause could be damaged brake components. Small cracks or leaks can occur when replacing brake discs or pads, leading to fluid loss and air entering the system.
Warning: Air in the braking system is no small matter – it significantly increases the risk of accidents. When air is present, brake force is distributed unevenly, which can cause the vehicle to pull to one side.
If you feel less resistance when pressing the brake pedal, it’s time to bleed the lines. While you’re at it, it’s also a good idea to check your tyre pressure.
Bleeding brakes yourself: How does it work?
First things first: The braking system is a critical safety component in your vehicle. That’s why a professional should ideally carry out brake bleeding. However, if you have prior experience with car maintenance and feel confident in your abilities, you can do it yourself.
Does your car have an ABS system? If so, the process is a bit more complex, but the basic steps remain the same.
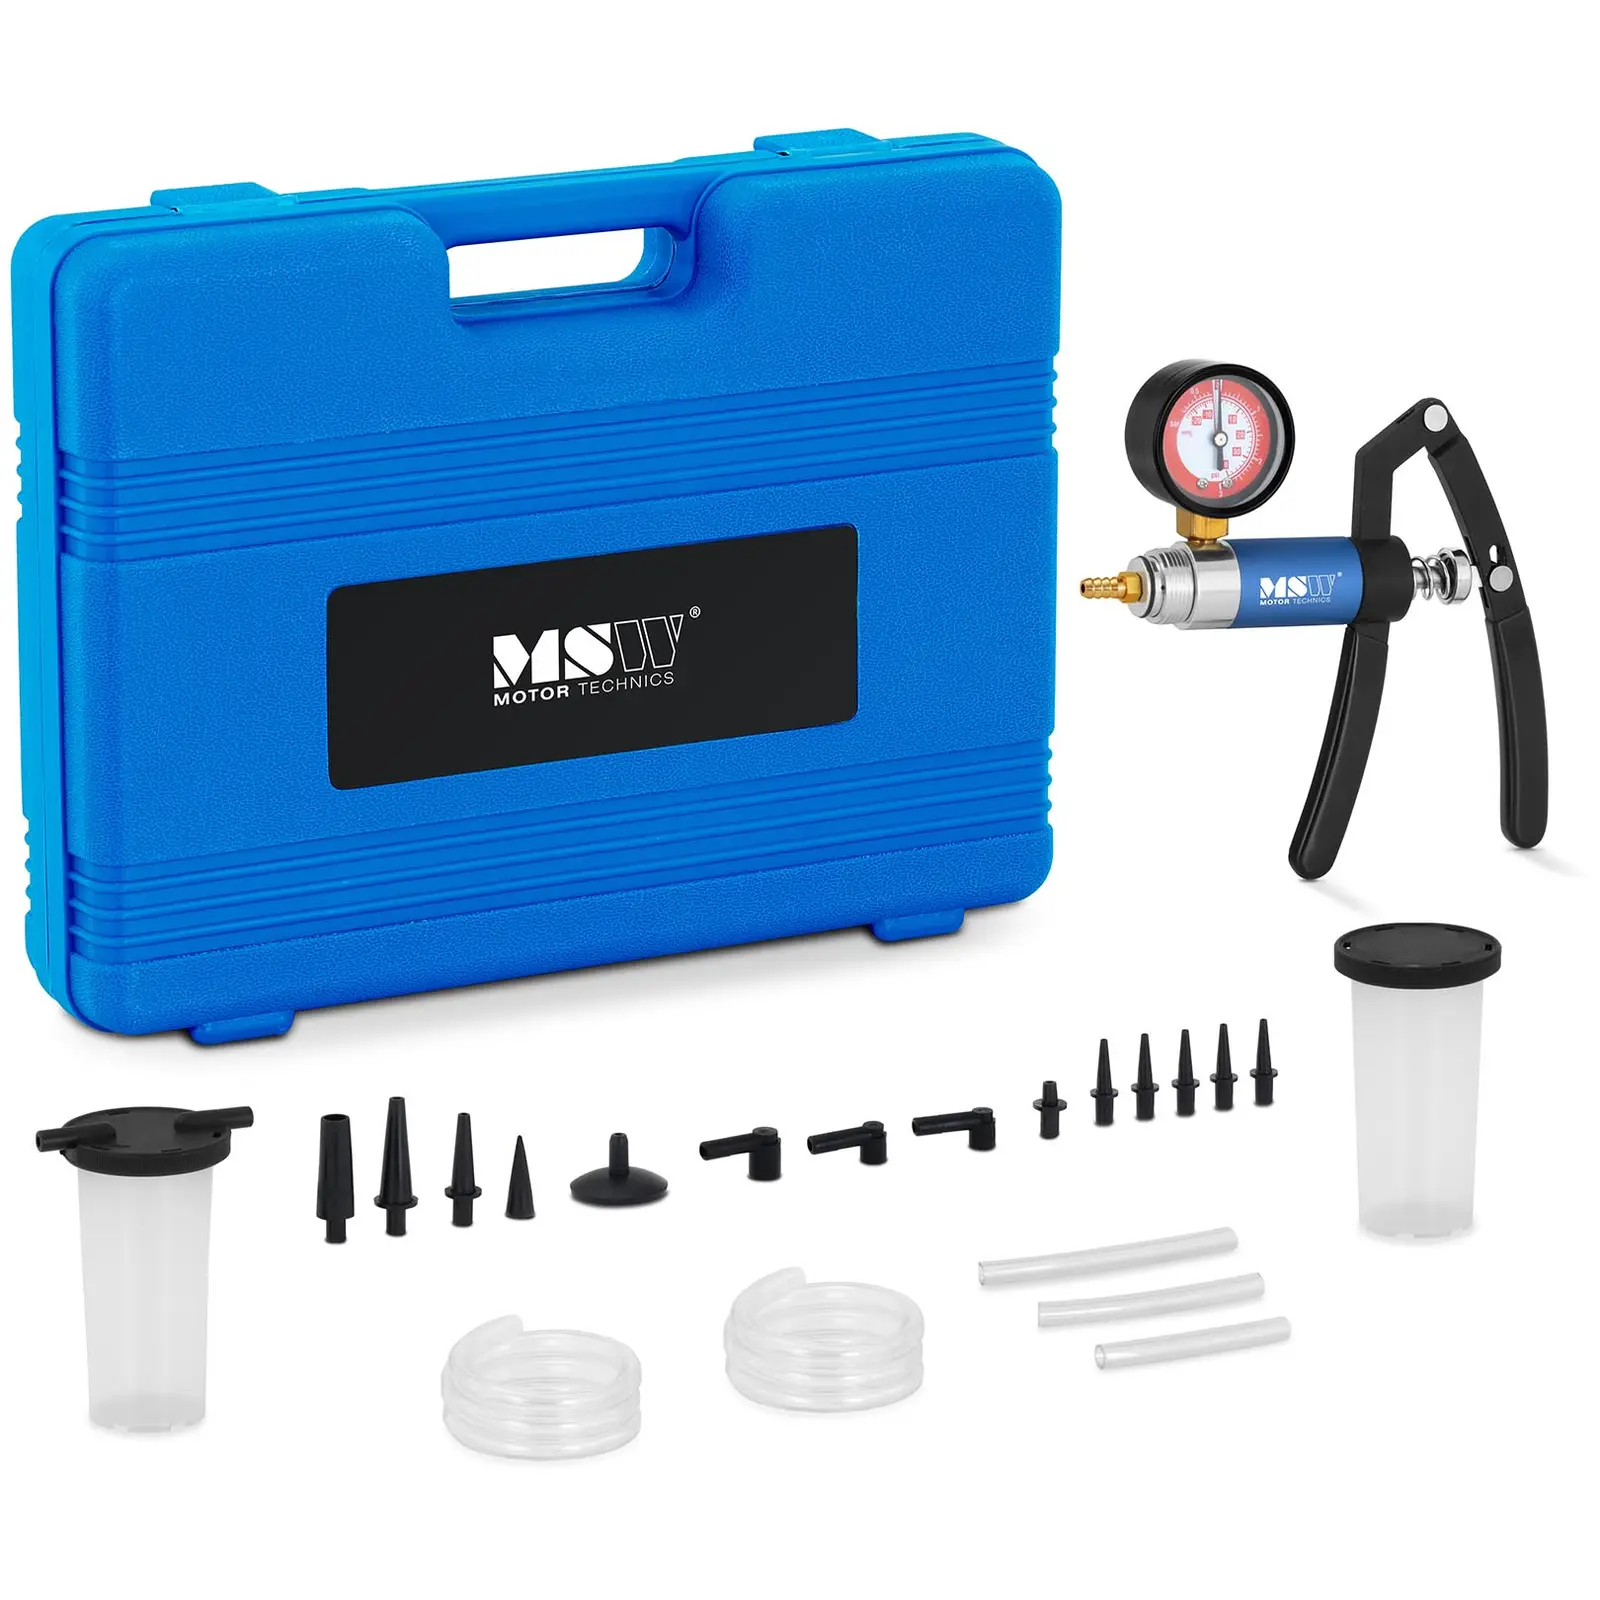
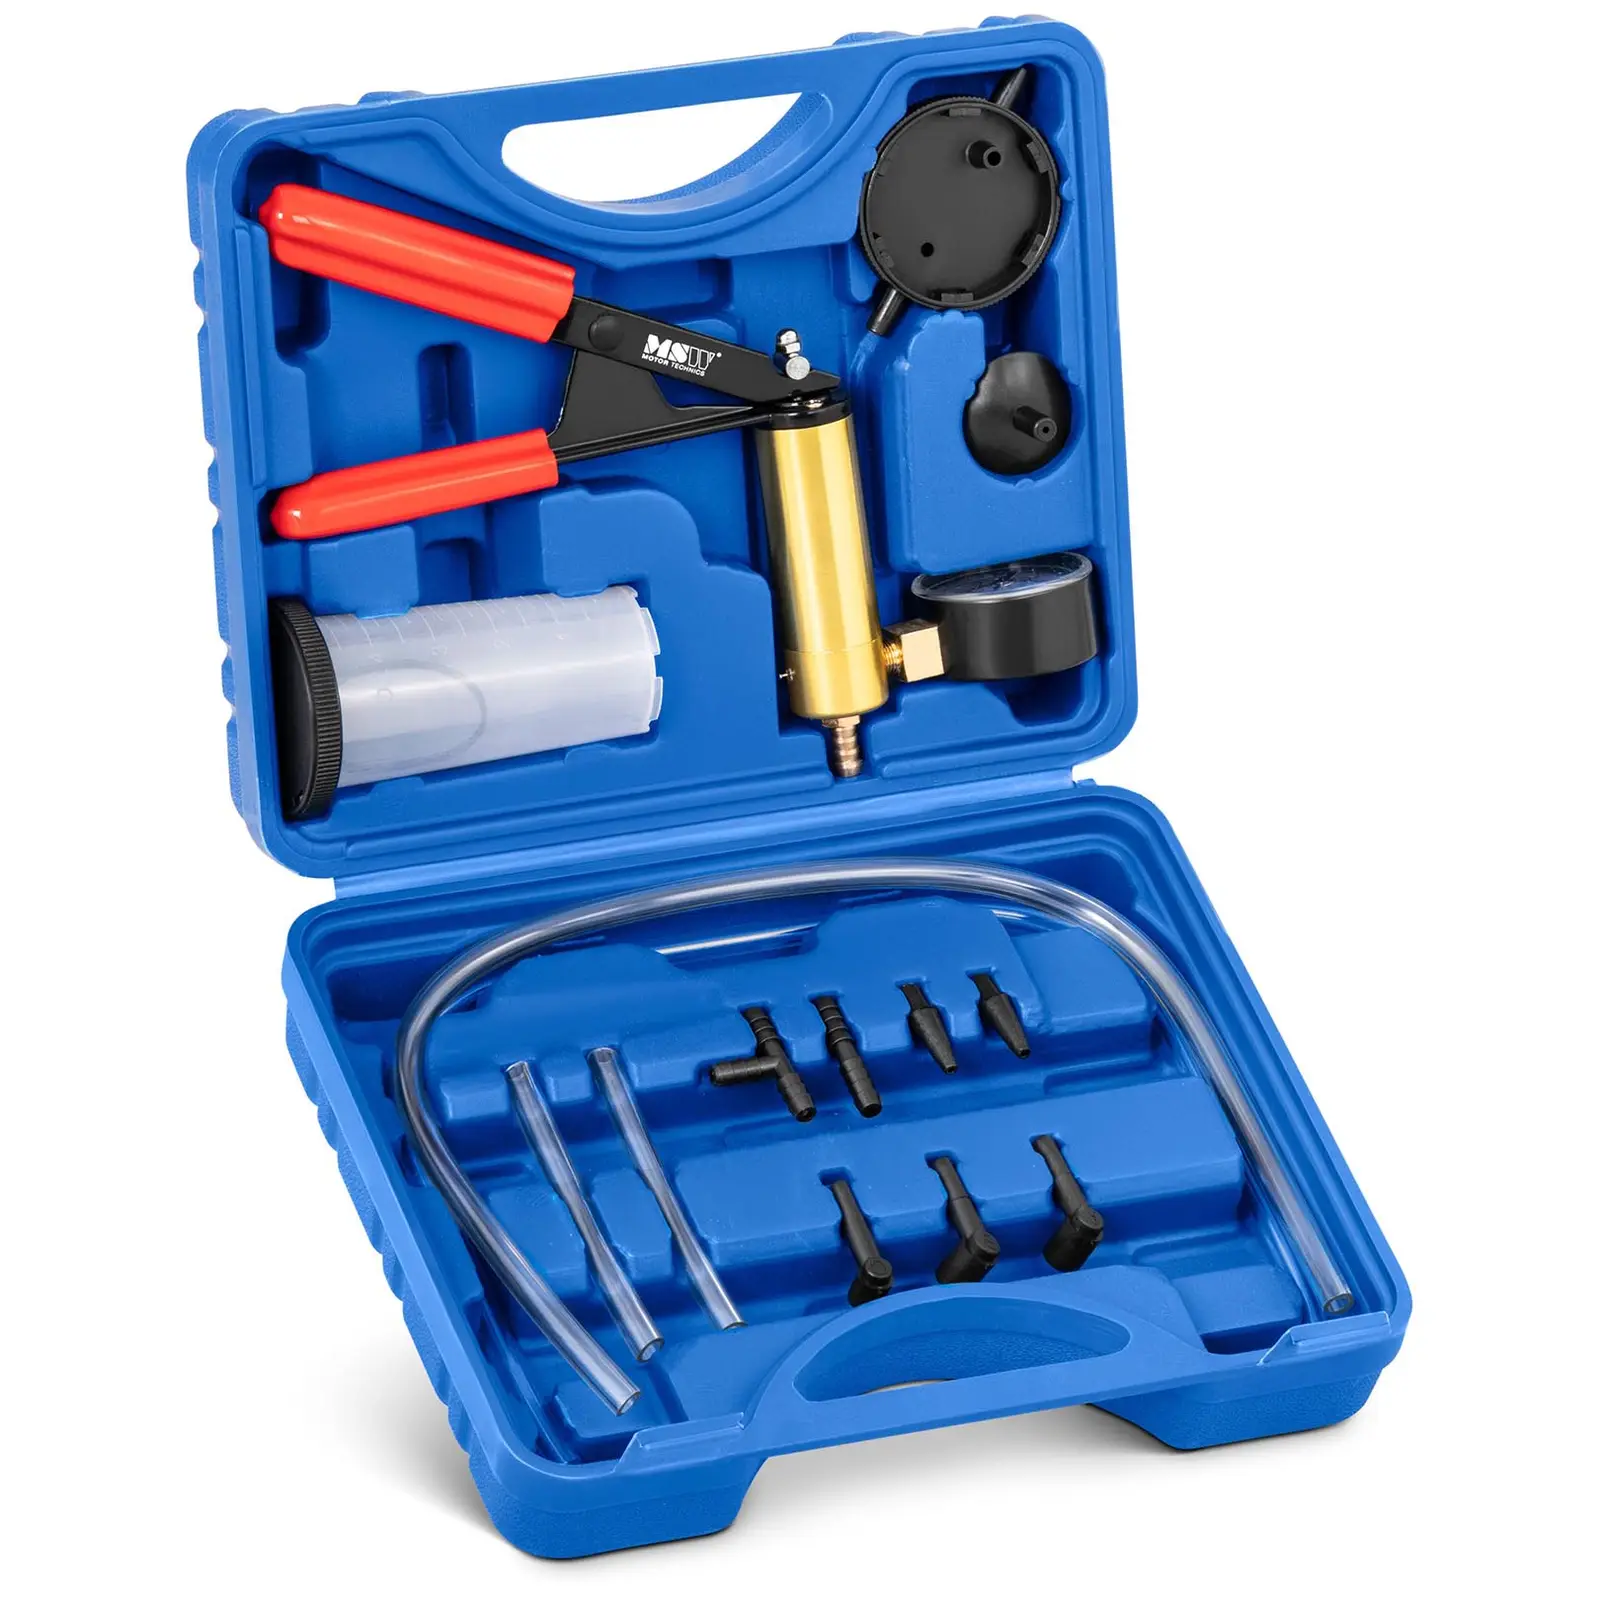
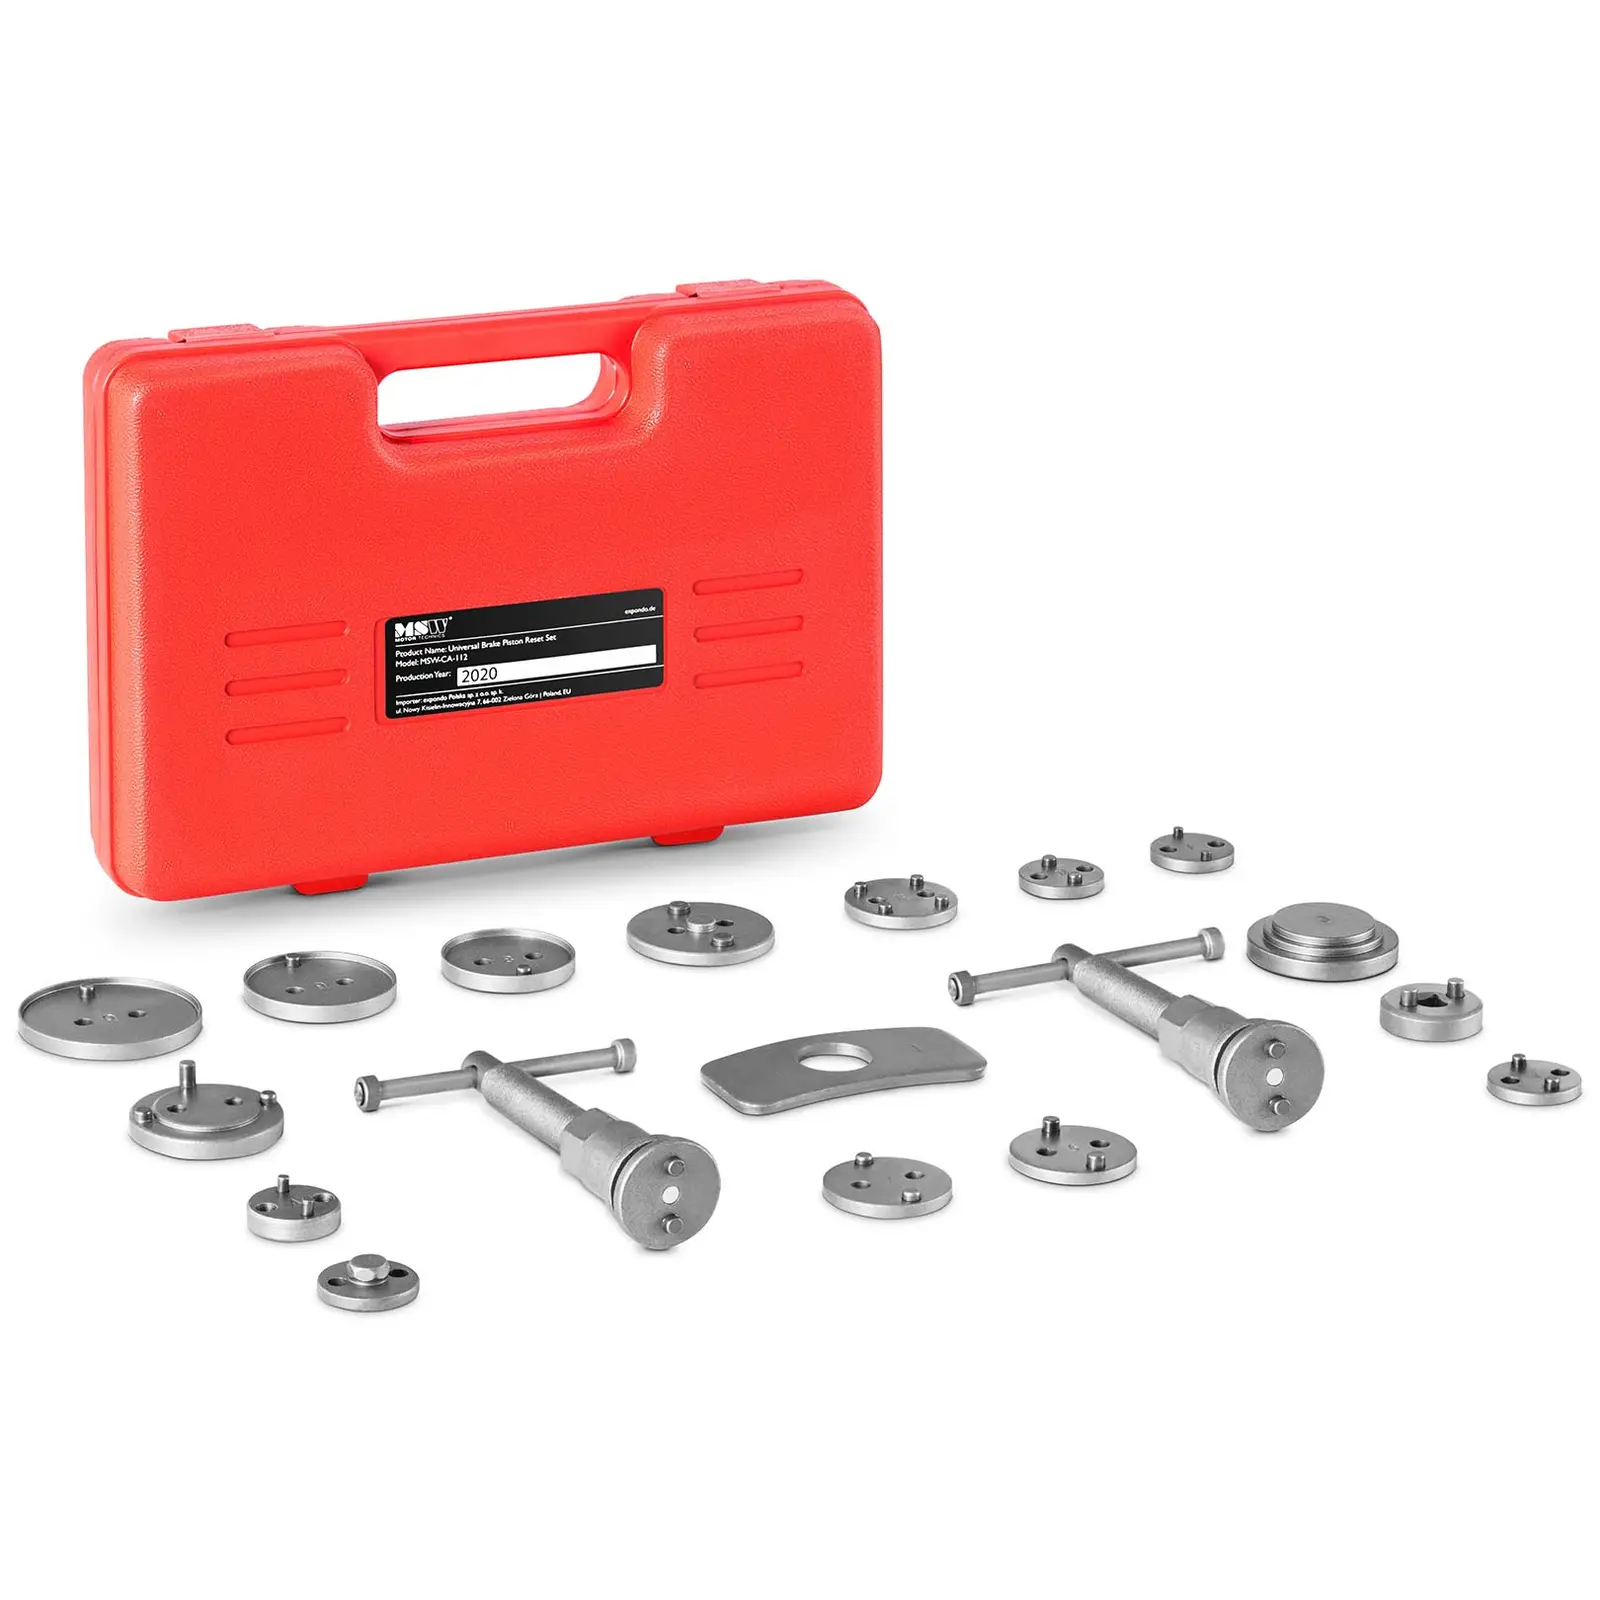
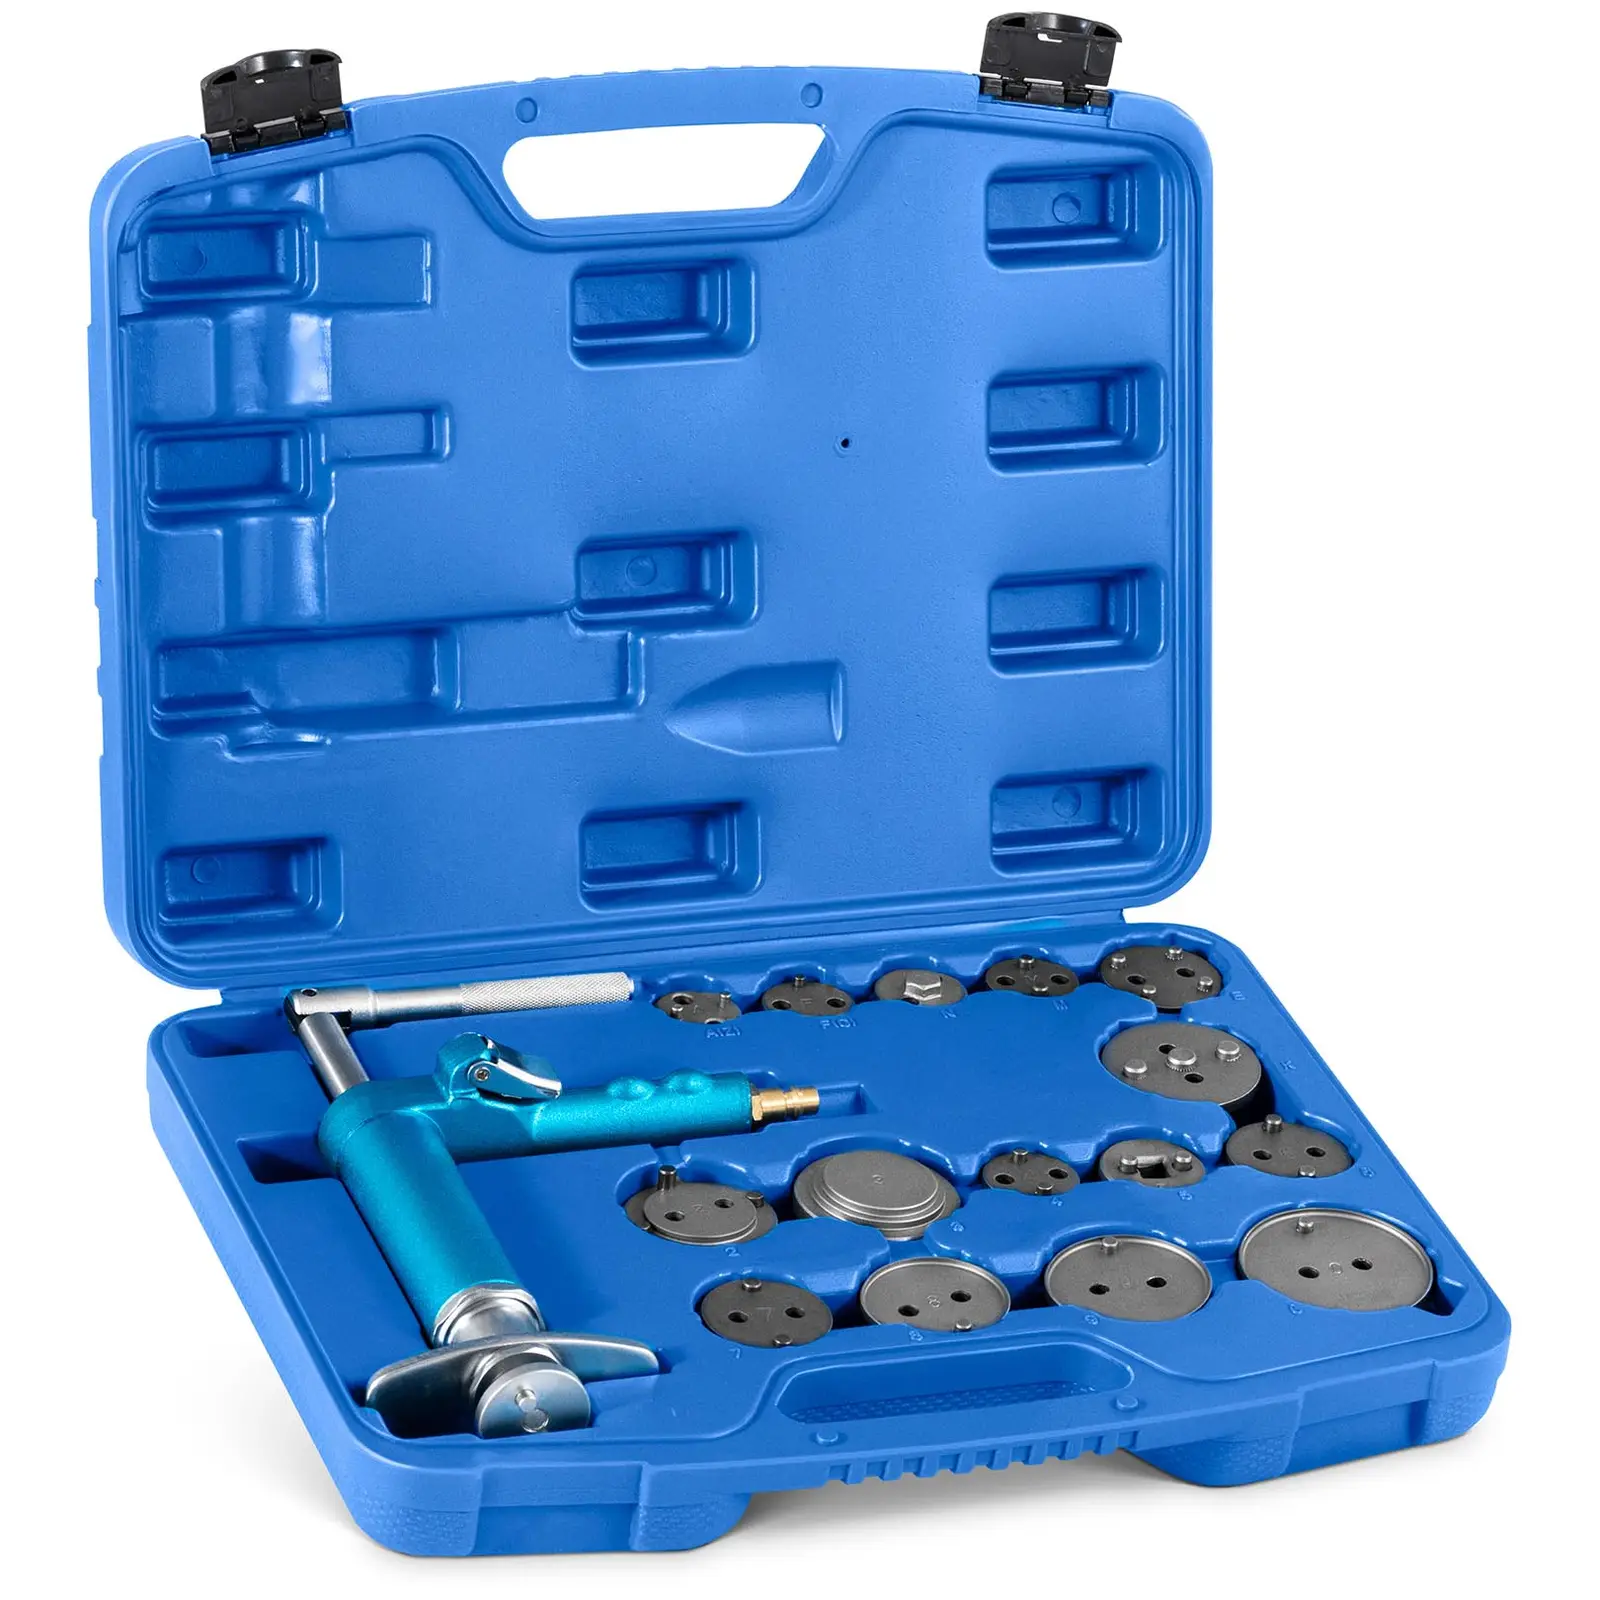
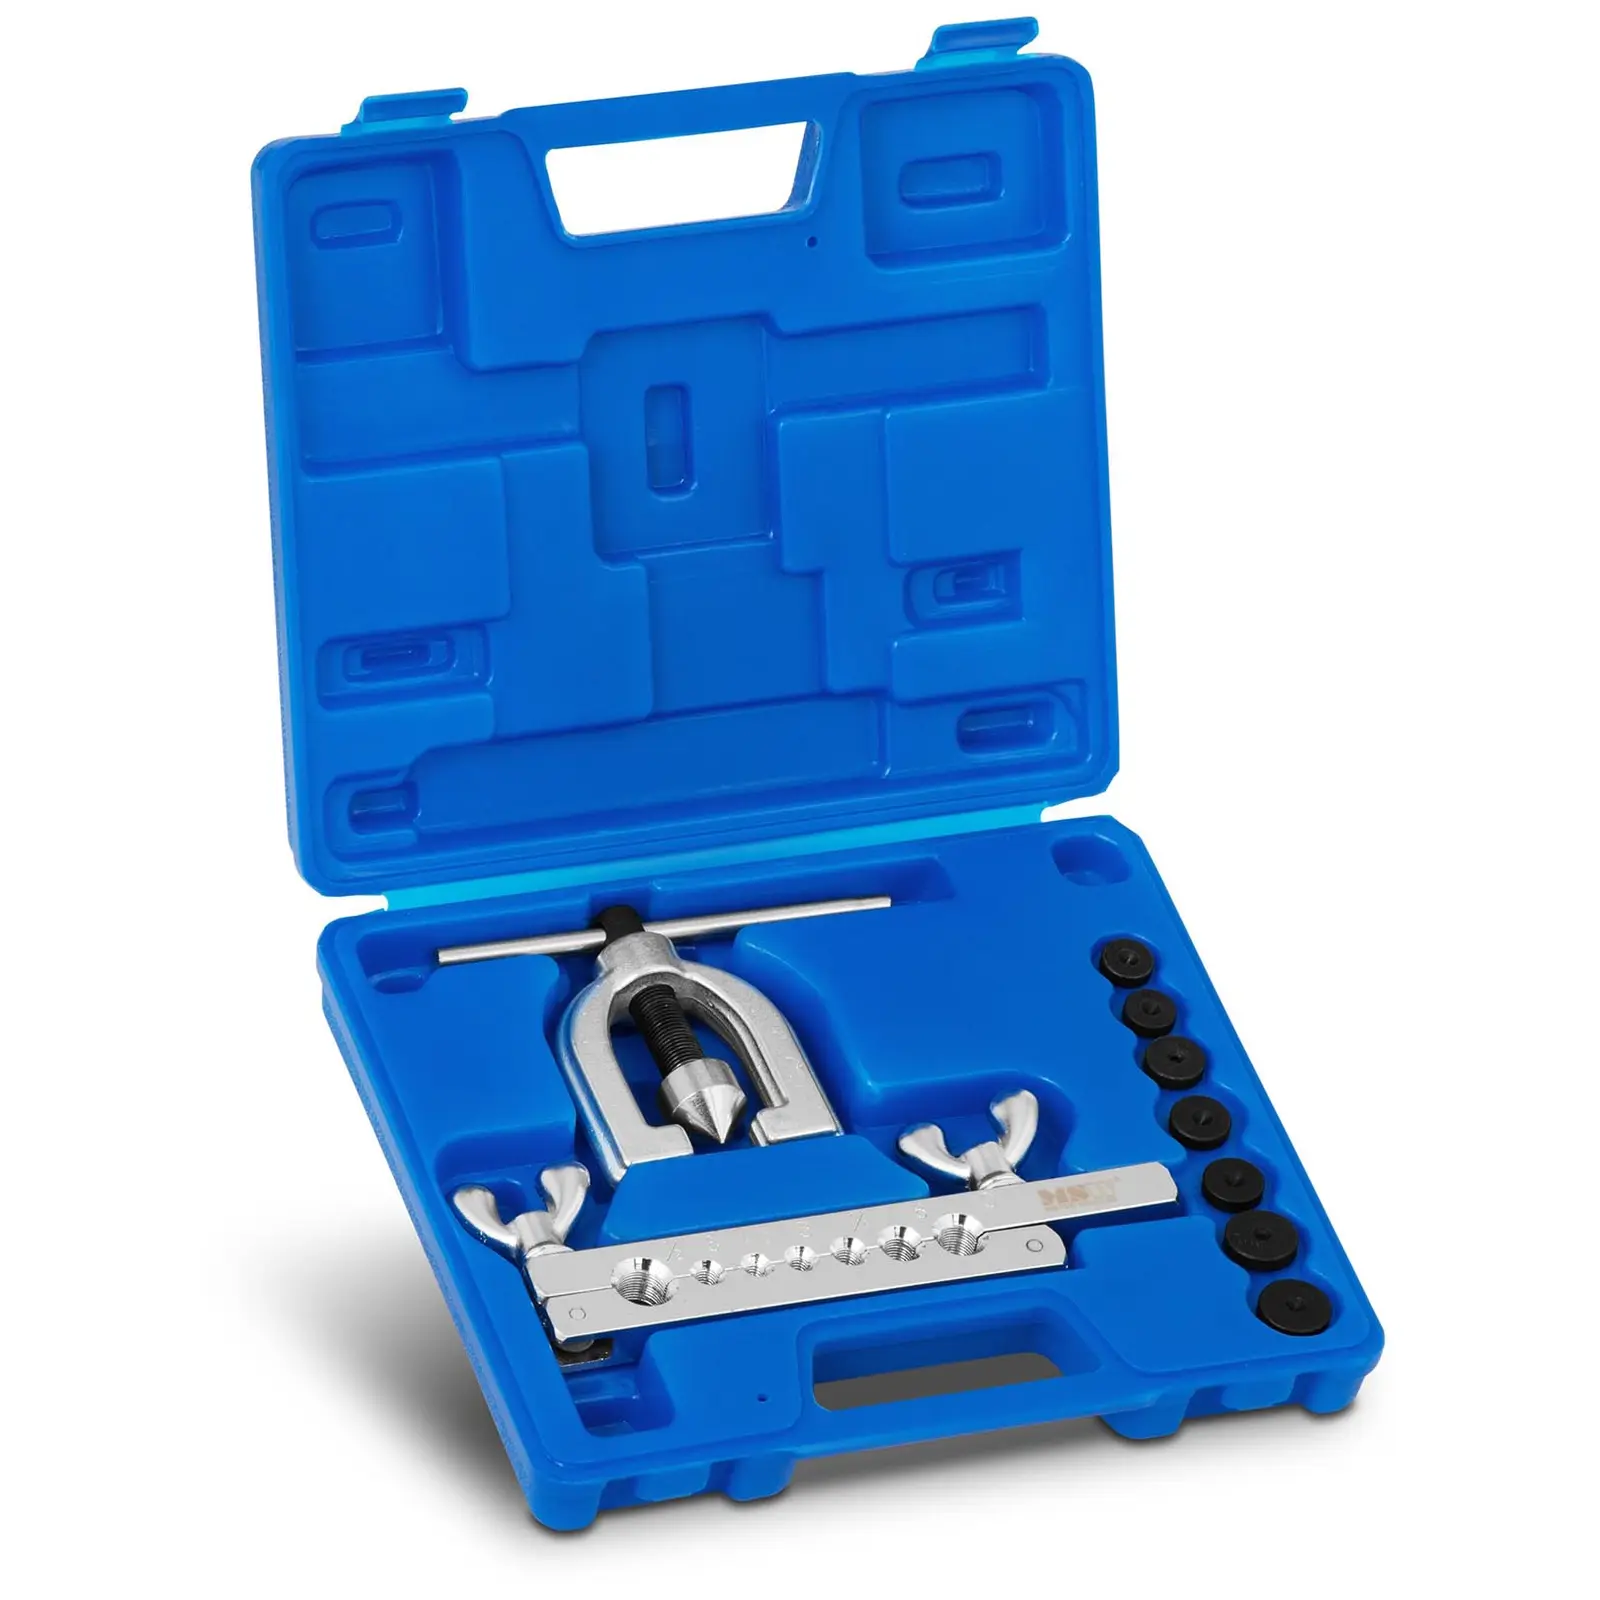
What equipment do I need?
The most important component when bleeding the system is the brake fluid. Be sure to use the type recommended by your vehicle manufacturer – this information can be found in the car’s service manual. Using the wrong fluid increases the risk of long-term damage to the braking system.
You’ll also need the correct ring spanner – usually 9 or 11 mm – along with a transparent rubber hose and a container for the fluid. A specialised brake bleeding kit or testing equipment can make the job even easier, as they often include vacuum testers and essential accessories for brake bleeding.

Bleeding brakes without ABS: Method 1
For vehicles without an anti-lock braking system (ABS), check the car’s technical manual for any specific bleeding instructions.
If no specific sequence is provided, follow the general rule: Start with the wheel furthest from the master cylinder and work your way closer, finishing with the wheel nearest to the master cylinder.
For most vehicles where the master cylinder is located on the left side of the engine bay, the correct bleeding sequence is:
- Right rear wheel,
- Left rear wheel,
- Right front wheel,
- Left front wheel.
Check the fluid level in the brake fluid reservoir and top it up if necessary before starting the bleeding process.
Next, remove the protective cap from the bleed valve and carefully loosen it using a ring spanner. A half-turn should be enough to allow a small amount of brake fluid to escape.
It’s helpful to attach a rubber hose to the valve, allowing you to direct the fluid into a container, such as an old jam jar. Continue bleeding until no more air bubbles appear.

The brake fluid should flow steadily and without bubbles. Once clear, remove the hose and tighten the valve securely.
TIP: Clean and dry the brake fluid reservoir thoroughly before bleeding. Unlike an oil change, brake fluid can be reused if properly handled, which can save money on maintenance.
Bleeding brakes without ABS: Method 2
For this alternative method, you’ll need a second person. They should press the brake pedal several times before holding it down firmly. You then loosen the bleed valve, allowing the brake fluid to drain while the system is under pressure.
Once your helper tells you the pedal has reached the floor, close the valve immediately. Repeat the process a few times until the pedal feels firm again.
Bleeding ABS brakes
If you’ve ever bled an ABS braking system, you’ll know it’s a bit more involved than with a standard system.
Start by topping up the brake fluid. Low fluid levels are a common cause of air bubbles in the system. Warning: If the pump is completely empty, take your vehicle to a garage – this situation requires professional intervention.
The bleeding sequence for ABS-equipped vehicles is different. Begin at the master cylinder, then proceed as follows:
- Left front wheel,
- Right front wheel,
- Right rear wheel,
- Left rear wheel.
Now let’s get started! Turn on the ignition and pump the brake pedal about a dozen times, pressing it fully each time. This releases pressure from the ABS system. Ensure the brake fluid reservoir remains topped up. Avoid pressing the brake continuously for more than two minutes, as the system can overheat. Take short breaks as needed.
Once the master cylinder is bled, move on to the front wheels. You’ll need a second person’s assistance for this step. Attach a hose to the bleed valve while your helper presses the brake pedal repeatedly until pressure builds up. When the pedal feels firm, they should press down as hard as possible and hold it.
Meanwhile, carefully open the bleed valve and allow the brake fluid to drain into a container. Once your helper confirms the pedal pressure is maintained, close the valve. Repeat until no more air bubbles appear.
The process for bleeding the rear ABS brakes is similar, with one key difference: Start the engine after pumping the brake pedal and pressing it fully. Only then attach the hose and open the bleed valve. Once the fluid runs clear, free of bubbles, turn off the engine.
Warning: Once bleeding is complete, always refill the brake fluid reservoir to the maximum mark.
How much does professional brake bleeding cost?
If you don’t want to bleed the brakes yourself, you can take your car to a professional garage.
The cost is usually around £100, depending on the type of braking system and vehicle model. Many garages will also offer a complete brake fluid replacement at the same time, as this process naturally involves bleeding the system as well.
Bleeding brakes: A task worth doing!
A fully functional braking system is essential for keeping your car under control and ensuring your safety on the road.
Air bubbles in the brake lines lead to longer braking distances and increase the risk of mechanical damage. In the worst-case scenario, reduced braking efficiency can result in accidents. That’s why it’s crucial to recognise the signs of a compromised system and act quickly – whether by bleeding the brakes yourself or seeking professional help.
Keep in mind that the process differs for cars with and without ABS, so follow the appropriate steps for your vehicle.


Share